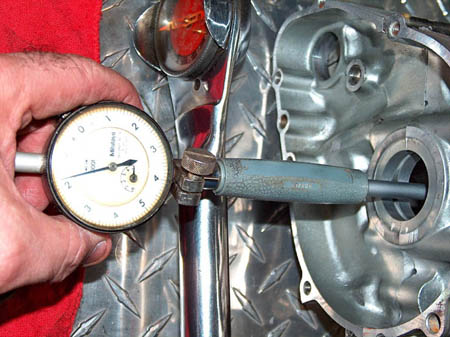
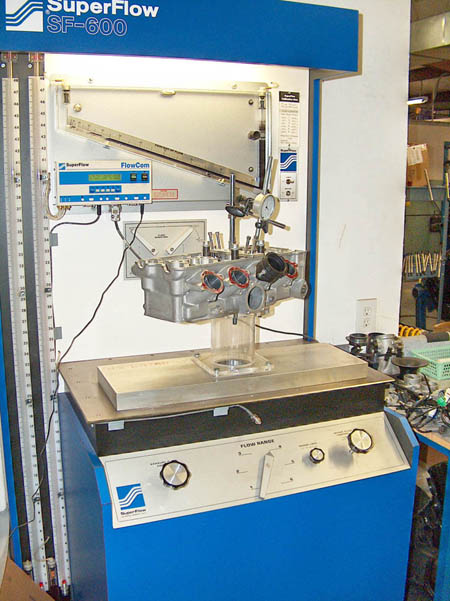
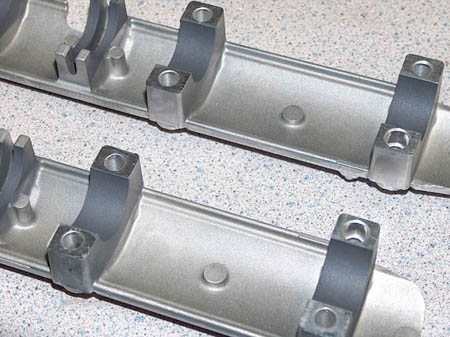
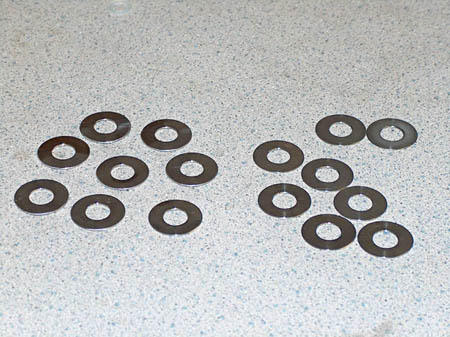
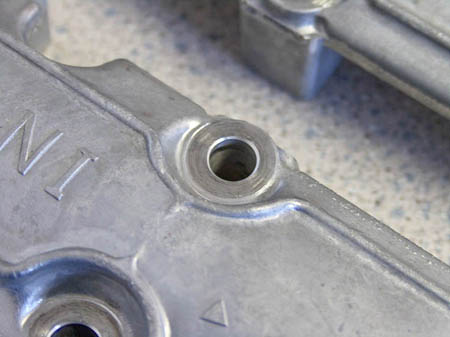
| Here are some pics of
a very small fraction of the type of engine development work we do
here in conjunction with all the engine related products we
innovate, design, and manufacture. these pics are mainly from
the motorcycle race engine department side. We have been careful not
to reveal any of our many secrets learned over the last 28 years of
doing this form of work. Instead we are showing just typical,
first class work. This is just plain old 'grass roots' work, that is
just standard for true professional engine builders and factory race
team engine designers. We have seen so many engines come to us
over the years, that had been built by well know name engine
builders, that are actually very unfortunate samples of their
customers being taken to the cleaners. Not so much by price,
but rather what they got, (or thought they got) for whatever price
they did pay. Sometime we may put up a section of pics of
"disaster waiting to happen" poorly machined, (or not
machined at all) components in engines or some that were
disasters. Since we have done engine annalists for other
companies/racers for many years, we have a lot of very interesting
data, and some very very humorous (except for the engine owner of
course.)
|
|
It's common knowledge among
"TRUE" racing professionals that even for a motorcycle
engine, 20, $30,000 or even twice that for certain factory level plus,
engines is not too much to pay. If you're getting what you wanted.
We've just seen too many guys and gals pay way too much for engines
not really worth half what they paid for them. As we get time, we'll
add more, just for food for thought. We aren't in the business nor
would we publicly name any of these 'engine builders' as we try to
be a whole lot more professional than that. We'll some time be
posting engine components that show how you don't want your engine
builder to build your engine as well. A
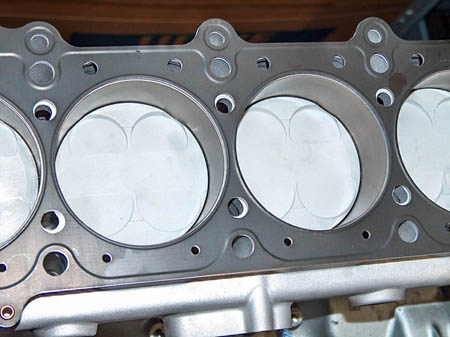
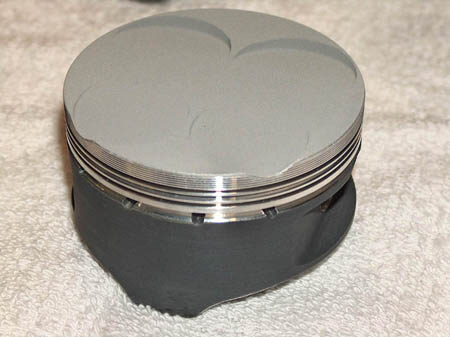
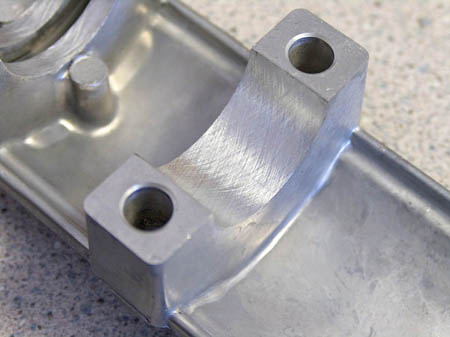
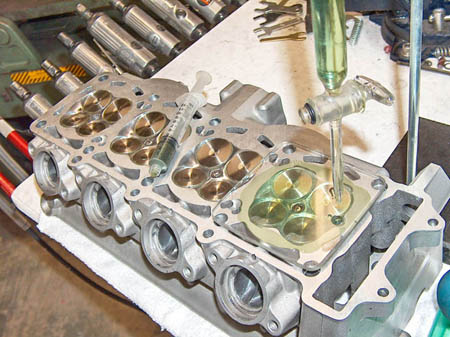
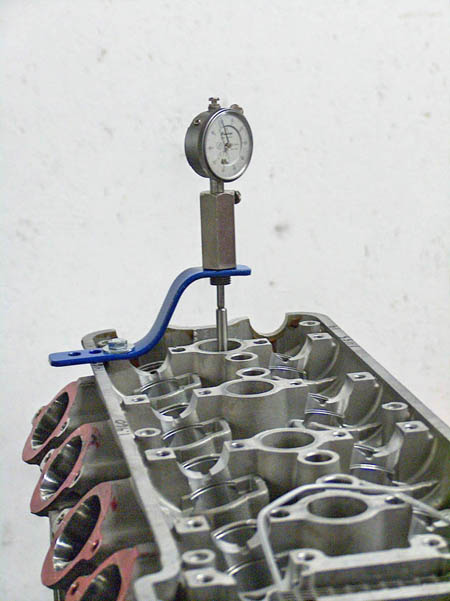
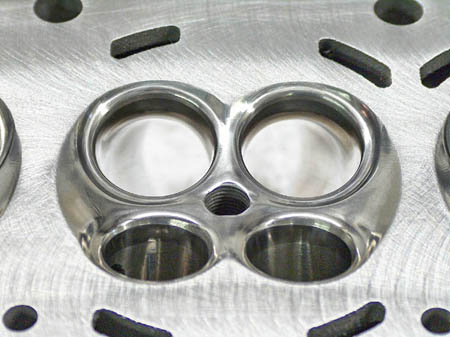
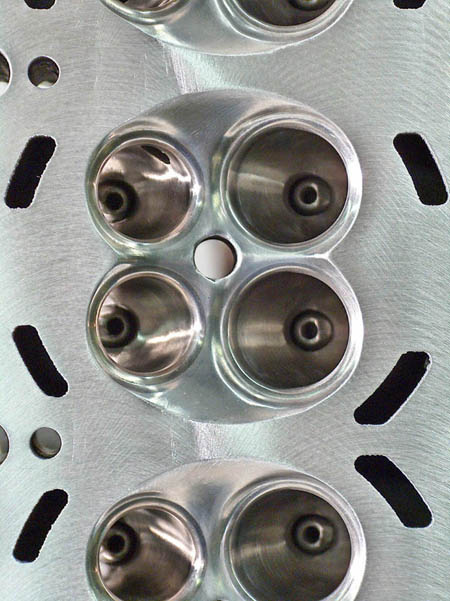
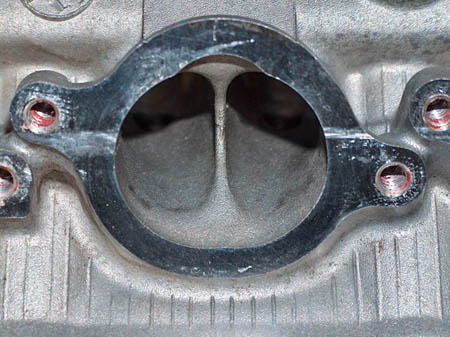
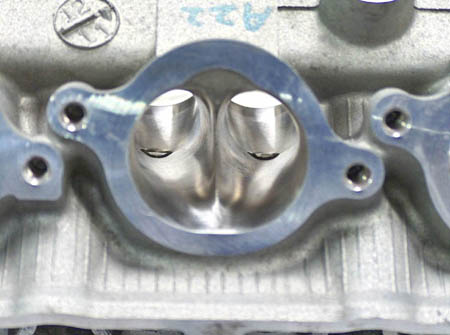
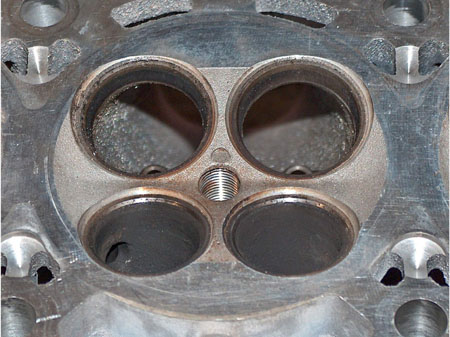
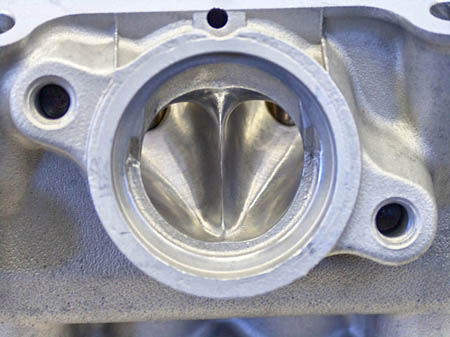
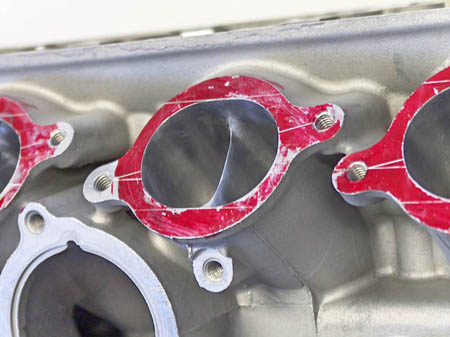
very important note here; The finish appearance
in the of a chamber or port, as shown below means absolutely
nothing when it comes to performance. You can look at work
that looks beautiful but performs worse than stock. You see pics
regularly in magazines of "beautiful work" that really isn't
worth the hassle of removing the parts & sending them to get
done. Although top level work can look great, its the shaping, contouring,
matching machine work, matching of all related parts, etc etc, that
really matters. Sometimes an area in the head benefits from being as
smooth as glass, sometimes we actually cut grooves in an area, or don't
touch it at all. Sometimes we even weld in an area and rework
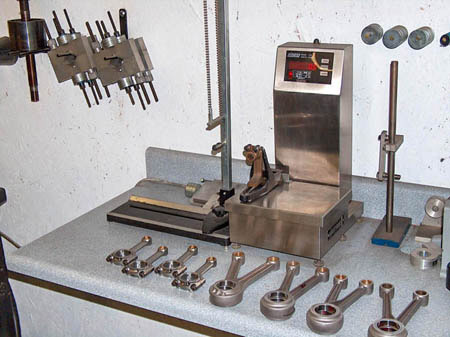
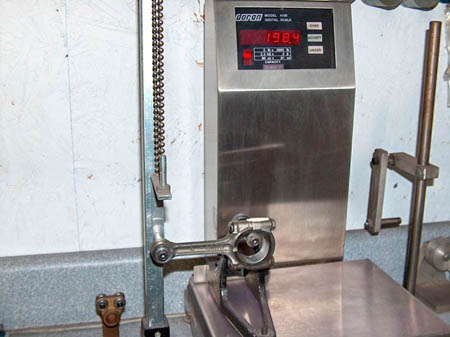
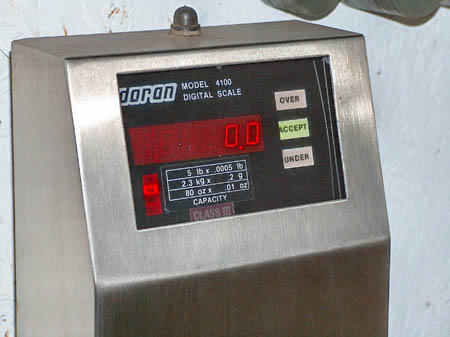
it. The
following pics show just a fraction of what our capabilities are,
but at least will help familiarize some people on some things
they maybe have wondered about for a long time. |

 Performance Design